Have you ever craved a touch of whimsy in your home décor? Maybe your living space feels a little too sterile, or perhaps you'd love to add a unique, handcrafted element that reflects your personality. Well, fret no more, craft enthusiasts and home décor lovers alike, because the answer to your woes lies in the most unexpected place: DIY velvet fabric mushrooms!
These adorable little creations are not only incredibly charming but also surprisingly easy to make. And the best part? They're entirely customizable, allowing you to create a foraged forest that feels truly one-of-a-kind. Whether you prefer minimalist elegance or a riot of colors and textures, velvet fabric mushrooms can be tailored to suit your taste.
For making fabric mushrooms you will need a velvet fabric. The plush texture and rich colors of velvet instantly add charm to any project, and in the case of mushrooms, it adds a touch of luxury that elevates them from mere craft project to miniature masterpieces.
How to make a Fabric Mushroom: A Step-by-Step Guide
What will you need
Of course, velvet fabric is just the star of the show. To bring your mushroom dreams to life, you'll also need a few other key supplies:
- Fabric scraps (velvet for the cap and linen for the underside and stalk but neutral tones like cream or beige often complement the velvet nicely.
- Cardboard for templates
- Fiberfill for stuffing
- Needle and thread (or a sewing machine)
- Fray stop glue (optional)
- Fabric circle cutter or scissors
- Tweezers and chopsticks (for turning and stuffing)
- Grey pen (for details)
- Decorative elements such as ribbons, seed beads, and glitter
Now that you have all the necessary supplies, it's time to get your hands dirty (well, not literally – maybe keep some baby wipes nearby for any crafting mishaps)!
Here's a step-by-step guide to crafting your own adorable velvet fabric mushrooms:
Step 1: Create a cap
Begin by selecting your desired fabric for the mushroom cap and cutting it into a 3.5" circle. For ease and precision, consider using a compass cutter or fabric circle cutter, especially if you plan to create multiple mushrooms. This initial step sets the foundation for your mushroom's visual appeal and size, so take care in choosing fabrics that complement your decor or theme.
Step 2: Cut the Linen and Cardboard
Next, cut two 2.5" circles from the linen fabric for the underside of the mushroom and a 2" circle from cardboard. Applying fray-stop glue to the edges of the linen pieces will help prevent fraying, ensuring a clean finish for your mushrooms. Take care to cut the circles accurately to maintain consistency in size and shape.
Step 3: Sew and Shape the Linen
Sew the two linen circles together, leaving a small opening for turning. Use a needle and thread to stitch along the edges, ensuring a secure seam. Once sewn, carefully turn the circles right-side out using tweezers or a similar tool to avoid damaging the fabric. This will create the underside of the mushroom and provide a sturdy base for attachment.
Step 4: Prepare the Cardboard Base
Fold the cardboard circle into quarters and snip a small hole at the center. This hole serves as a guide for maintaining the mushroom's domed shape and provides support for the fabric cap. Take your time to fold the cardboard accurately, as it will impact the overall structure of the mushroom.
Step 5: Create the Mushroom Cap
Using a needle and thread, sew a running stitch around the edge of the fabric cap, approximately 3mm from the edge. Gradually pull the thread to gather the fabric, creating a pouch-like shape. Stuff the pouch with fiberfill, ensuring it is evenly distributed to achieve a rounded dome shape. Place the cardboard circle atop the stuffing to provide structure and support for the cap.
Step 6: Attach the Linen to the Cap
Pin the prepared linen circle to the underside of the gathered fabric cap, aligning the edges carefully. Sew around the edges to secure the linen in place, ensuring a snug fit. Add more fiberfill through the center if needed to achieve the desired fullness and shape for your mushroom.
Step 7: Construct the Stalk
Trace and cut out the mushroom stalk pattern from your chosen fabric, ensuring it matches the desired size and shape for your mushrooms. Sew the pieces together along the edges, leaving one end open for stuffing. Once sewn, turn the stalk right side out using a tool like chopsticks to gently push the fabric through. Fill the stalk with fiberfill, ensuring it is firm and upright.
Step 8: Assemble the Mushroom
Sew the stuffed stalk to the underside of the mushroom cap, covering the central hole left by the cardboard circle. Use a thread color that matches your linen to seamlessly blend the stitches and create a polished finish. Take care to secure the stalk firmly to the cap to ensure the mushroom maintains its shape.
Step 9: Add Details and Gills
For added realism, use a grey pen to draw gill-like lines on the underside of the mushroom. This optional step adds depth and texture to your fabric mushrooms, enhancing their visual appeal and making them even more lifelike. Take your time with this step to ensure the lines are evenly spaced and accurately drawn.
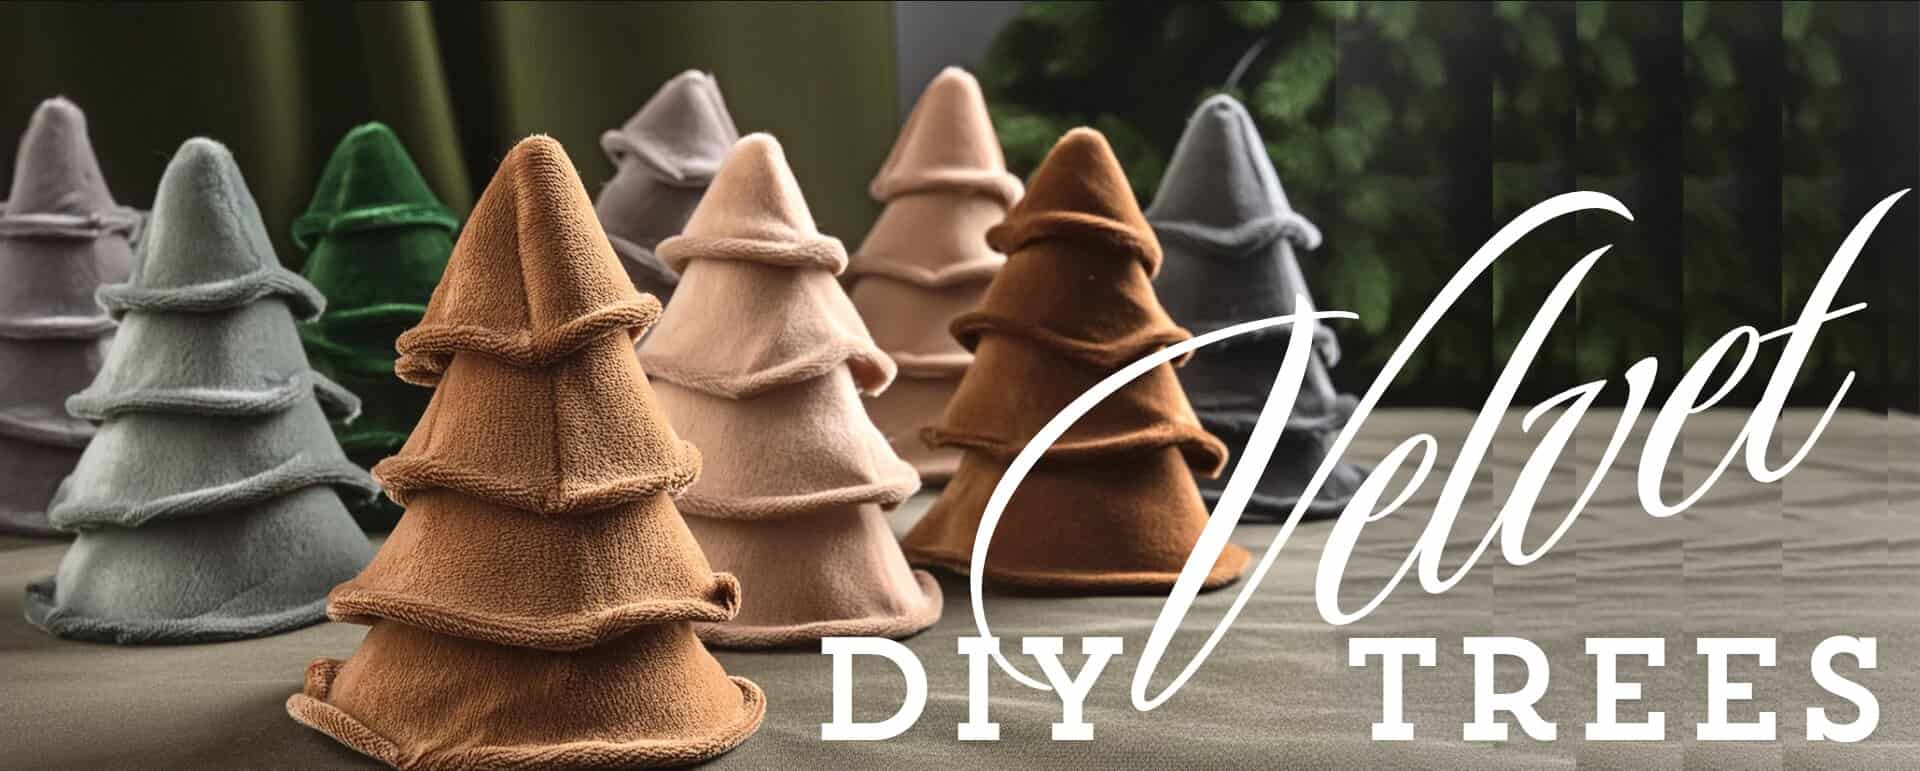
Discover even more about How to make Velvet Fabric Trees for Decor?
Where to Find the Perfect Velvet Fabric?
Here at Ice Fabrics we understand the power of a perfect fabric. That's why we offer a luscious collection of velvet fabrics that's simply unparalleled. From deep, jewel tones like amethyst and emerald to earthy browns and playful polka dots, our selection is guaranteed to spark your imagination.
Imagine a cluster of regal purple mushrooms nestled amongst ferns on your bookshelf, or a vibrant collection of polka-dotted fungi brightening up a child's room. The possibilities are truly endless!
Ideas For Decorating And Displaying Fabric Mushrooms
Decorative Touches
Use hot glue to attach ribbons, seed beads, and glitter, enhancing your mushroom's appearance. These embellishments can add color, texture, and sparkle, making each mushroom uniquely attractive.
Display Options
Mount your fabric mushrooms on a wood slice for a rustic display, or integrate them into a seasonal garland. They can also be transformed into charming Christmas ornaments with the addition of twine for hanging.
Innovative Uses
Fabric mushrooms make excellent present toppers or whimsical decor for shelves and mantles. They are also perfect for thematic decorations in children's rooms or at themed parties.
Conclusion
With a little imagination, some basic sewing skills, and the perfect velvet fabric (which you can find in our collection, of course!), the possibilities for crafting truly unique and decorations are endless. So, gather your supplies, and get ready to transform your home into a haven of handmade charm. We can't wait to see what kind of magical creations you bring to life!