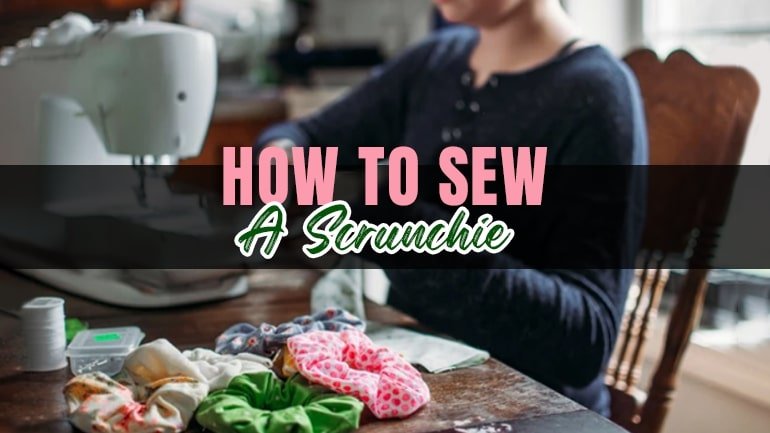
Sewing scrunchies has become a delightful trip down memory lane, reminiscent of childhood crafting and a touch of nostalgia.
In today's tutorial, we'll explore the art of sewing a scrunchie with a modern twist, using rich fabrics like velvet and silk, as well as comfortable materials like t-shirt knits.
Looking for the best tips on how to sew a scrunchie by hand or by machine?
In this blog post, we will discuss some effective steps to make a Scrunchie with a professional finish and no visible stitching.
Materials You'll Need:
- Fabric: 18 in x 4 inches. Consider a fun assortment bundle for variety. (You can use our velvet fabric)
- Elastic: 8 inches of 1/4-inch-wide elastic. Increase to 9 inches for thicker hair.
- Needle and thread
- Safety pin
How to Sew a Scrunchie: Step-by-Step Guide
Sewing your own scrunchie can be a delightful and rewarding crafting experience. Follow these simple steps to create a stylish scrunchie with a professional finish.
Step 1: Fold and Stitch the Fabric
Start by selecting your fabric, preferably 18 inches x 4 inches. Fold it in half lengthwise, ensuring a neat alignment of the edges. Use your sewing machine or a needle and thread to stitch along the long edge. Remember to leave a small gap during stitching; this will be crucial for turning the fabric inside out in the subsequent steps.
Step 2: Turn and Match
Once the long edge is stitched, it's time to turn the fabric tube halfway to the right side. This involves pulling the fabric through itself, effectively reversing its orientation.
Match the short raw ends of the fabric tube, making sure the gap from the previous step stays on the outside of the tube. This meticulous matching ensures a clean and polished look for your scrunchie.
Step 3: Stitch the Short Ends
Proceed to stitch around the short ends of the fabric tube. Match the seams and short raw edges carefully. As the tube may be too small to accommodate a sewing machine presser foot, opt for a needle and thread to secure the short ends together.
Precision in matching the seams and edges will contribute to the overall professional appearance of your scrunchie.
Step 4: Turn Right Side Out
With the short ends securely stitched, reach through the gap left in the stitching during the initial step. Gently pull the fabric through to turn the scrunchie right side out.
This step transforms the fabric into a complete ring, setting the stage for the final touches.
Step 5: Insert Elastic
Prepare your elastic, around 8 inches long (adjust to 9 inches for thicker hair). Attach a safety pin or bodkin to one end of the elastic and carefully thread it through the fabric ring.
Pay attention to not lose the other end of the elastic inside the tube. This elastic will provide the necessary stretch for your scrunchie.
Step 6: Stitch the Gap Closed
Overlap the ends of the elastic and stitch them together securely. Ensure a tight connection to prevent any unraveling. Once the elastic is secured, turn your attention to the small gap in the fabric. Utilize a blind stitch to close the gap neatly. This final step adds a polished finish to your handmade scrunchie.
Learn all there is to know about How to Sew Velvet Fabric?
Additional Tips
Consider using a tube turner for easier turning of the fabric.
Experiment with different fabrics to create scrunchies suitable for various occasions. If you're planning to sell your creations, pay attention to the quality of stitching and fabric choice for a professional look.
Final words
Learning how to sew a scrunchie provides not only a trip down memory lane but also an opportunity to create stylish accessories with a modern twist. If you choose to sew by hand or with a machine, the satisfaction of crafting your scrunchie is best.
Now that you've mastered the art of sewing scrunchies, you can check out the variations, experiment with fabrics, and even share your creations with others.


