The art of sewing opens up a world of creativity and self-expression, enabling one to craft garments that are not unique but also carry a personal touch. Among the myriad of projects that enthusiasts go on, creating a DIY pinafore is a delightful challenge that combines simplicity with the joy of customization.
This tutorial is designed to guide you through the process of sewing your very own pinafore, from selecting the perfect fabric to the final stitch. Whether you're a seasoned sewer or a beginner eager to learn, this journey will enhance your skills and leave you with a versatile piece of clothing that radiates your style.
Choose Your Fabric and Material

The first step in any sewing project is selecting the right fabric. Pinafores, being versatile garments, allow for a wide range of fabric choices, from sturdy denims and corduroys for a casual look to softer linens and cotton for a lighter, more feminine vibe. Consider the season and the occasions you plan to wear your pinafore when making your choice. A medium-weight fabric is generally the most versatile and easiest to work with.
If you want to shop for any type of fabric such as silk, rayon, cotton, or any other you can visit Ice Fabrics store where you can find a wide collection of fabrics to check.
Once you have your fabric, it's time to gather your tools. Essential sewing tools include a sewing machine, fabric scissors, pins, a tape measure, and thread matching your fabric. Additionally, having an iron and an ironing board will be crucial for achieving a professional finish. Don't forget the pattern! You can either purchase a pinafore pattern from a craft store or online or if you're feeling adventurous, you can try drafting your own based on your measurements for a truly custom fit.
Cut and Prepare the Fabric
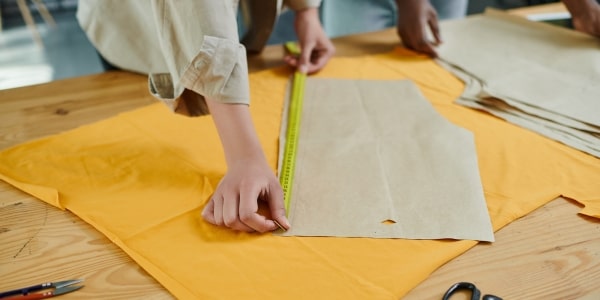
Before cutting your fabric, wash and dry it as you would the finished garment. This pre-treatment prevents future shrinkage and ensures your pinafore retains its shape and size. After ironing your fabric to remove any wrinkles, lay out your pattern pieces, paying close attention to the grainline marked on the pattern to align with the fabric's grain. This alignment is crucial for the drape and fit of the garment.
Pin the pattern pieces to the fabric securely and begin cutting with fabric scissors, maintaining smooth, confident cuts. Remember to mark any notches, darts, or other pattern markings on your fabric pieces using a fabric marker or tailor's chalk. These marks are essential for aligning pieces correctly during the sewing process.
Assemble the Bodice
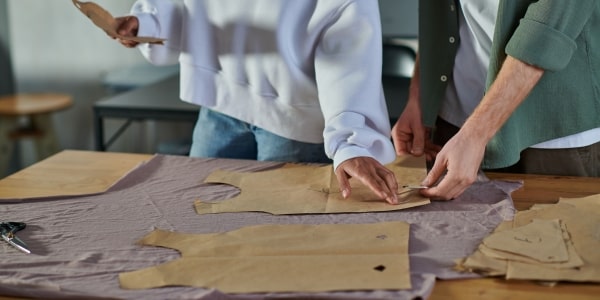
The bodice is the heart of the pinafore, shaping the garment and providing structure. Start by sewing any darts or pleats as indicated on your pattern. These small folds are sewn into the fabric to provide shape, particularly around the bust and waist. Next, if your pinafore design includes a lining, assemble the lining in the same manner as the outer bodice.
Once the darts are in place, it's time to join the bodice pieces at the shoulders and sides, right sides facing together. Sew along the seams as per your pattern's seam allowance, usually around 5/8 inch. Press the seams open or to one side, depending on your preference and the fabric's bulk. If you're working with a lining, attach it to the main bodice by sewing the neckline and armhole edges, right sides together, then turning the bodice right side out through one of the shoulders.
Construct the Skirt
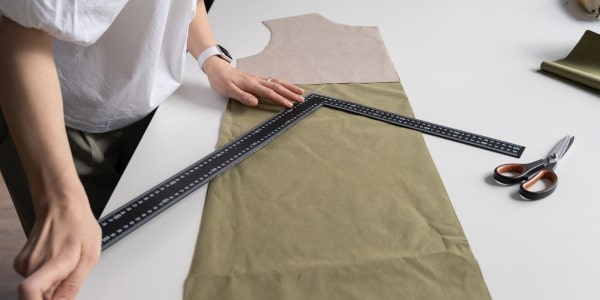
The skirt portion of your pinafore can vary greatly in style, from a simple A-line to a more complex gathered or pleated design. Regardless of the style, the process begins with attaching the skirt pieces at their side seams, right sides facing. If your design includes pockets, attach them to the skirt pieces before sewing the side seams.
For a gathered skirt, sew a basting stitch along the top edge of the skirt and gently pull the threads to gather the fabric until it matches the width of the bodice. Evenly distribute the gathers and pin the skirt to the bodice, right sides together, then sew along the waistline. For a pleated skirt, fold the pleats according to your pattern's instructions, press, and then pin and sew to the bodice.
Expand your knowledge on Best Fabric for Skirts.
Add Finishing Touches
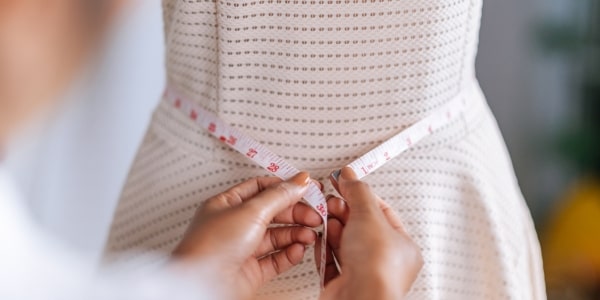
With the main construction complete, it's time to add those finishing touches that elevate your pinafore from homemade to handcrafted. If your pinafore features a back closure, install a zipper or buttons as per your pattern's instructions. Hemming the skirt and any straps or ties is the final step. Measure and press the hem to ensure an even length all around, then sew using a straight or decorative stitch.
Customization plays a big part in DIY projects, and this is your chance to add personal flair to your pinafore. Consider adding patch pockets, decorative buttons, or embroidery to make your garment truly one-of-a-kind. Remember, the beauty of DIY is in the details and the personal satisfaction of wearing something you made yourself.
Wrap up
Sewing a DIY pinafore is a rewarding project that not only hones your sewing skills but also results in a charming and versatile addition to your wardrobe. The process from selecting fabric to adding the final touches allows for creativity and personal expression, making your pinafore uniquely yours. Wear it with pride.


